How to Take Notes from YouTube: Tools and Workflows
How to Take Notes from YouTube: Tools and Workflows

The fastest way to take notes from YouTube is one of three routes: manually timestamp as you watch, install a browser extension with an embedded notes panel, or paste the video URL into an AI note generator for instant structured output. Each method suits a different need.
- Manual timestamping: best when you need verbatim accuracy or the video lacks auto-captions. No install required, full control.
- Browser extension (in-video panel): best for active study sessions where you want to capture thoughts mid-video without switching tabs.
- AI summarizer (paste URL): best when you need a quick overview before committing to a full watch, or when time is tight.
For most students and content consumers, Baitless is the recommended starting point. It converts any YouTube video into a concise, timestamped summary with highlighted key moments, and the free plan includes 25 summary credits with no commitment required.
Key Takeaways
The most effective way to take notes from YouTube combines an AI summarizer for speed with manual timestamp capture for the sections that demand precision.
| Point | Details |
|---|---|
| Three core workflows | Manual transcript, browser extension with in-video panel, and AI paste-URL summarizer each suit a different need. |
| Timestamps are the key feature | Click-to-jump timestamps cut review time by letting you return to the exact moment, not the whole video. |
| Export format drives downstream use | Markdown fits Notion and Obsidian; CSV fits spreadsheets; JSON fits bulk transfers and custom workflows. |
| Verify AI summaries before relying on them | Spot-check 2–3 timestamps per summary against the actual video, especially for technical terms and statistics. |
| Baitless for fast, free summaries | Baitless offers 25 free summary credits and timestamped key moments, making it the fastest starting point for students and casual learners. |
Table of Contents
- How do you take notes from a YouTube video quickly?
- What features actually matter in a YouTube note-taking tool?
- How do you capture timestamped notes step by step?
- How to organize and review your YouTube notes for study
- Who benefits most from timestamped YouTube notes?
- Privacy and accuracy pitfalls to know before you rely on AI notes
- How Baitless turns YouTube videos into ready-to-use summaries
- When manual notes still beat automation
- Baitless is the fastest path from YouTube video to usable notes
- Sources
How do you take notes from a YouTube video quickly?
Three workflows cover the full range from zero-install to fully automated.
1. Manual (no install needed)
- Open the video and click the three-dot menu below the player, then select “Open transcript.”
- The transcript pane shows every line with a clickable timestamp. Copy the lines you need directly into your notes app.
- For your own timestamps, pause the video, note the time in MM:SS format, write your note, and paste the YouTube URL with
?t=appended (e.g.,https://youtu.be/VIDEO_ID?t=185for 2:05). - Resume and repeat.
2. Semi-automated (browser extension)
- Install a notes extension like YouTube Timestamp Notes, which embeds a notes panel directly inside the YouTube page.
- While the video plays, press the keyboard shortcut (Alt+N on most extensions) to open a new note. The current timestamp inserts automatically.
- Type your note, add a tag if needed, and keep watching.
- Export when done: Markdown, CSV, HTML, or JSON depending on where your notes are going.
3. Fully automated (AI summarizer)
- Copy the YouTube URL.
- Paste it into an AI note generator. Scholarly’s YouTube to Notes pulls the transcript and produces structured notes with headings, timestamps, definitions, and optional flashcards.
- Review the output, flag anything that needs a closer look, and export.
Pro Tip: Don’t default to the automated route for high-stakes material. AI summaries are excellent for previewing a video or getting the structure fast, but for exam prep or technical content, use the timestamp to jump back and verify the original wording before you commit it to your notes.
What features actually matter in a YouTube note-taking tool?
Not every extension delivers the same experience. Before installing, check for these:
- Timestamp capture with click-to-jump: the note should record the exact second and link back to it. Without this, you’re just writing in a text file.
- In-video panel vs. separate window: an embedded panel (like YouTube Timestamp Notes) keeps you in the video without switching tabs. A separate app window adds friction, especially on smaller screens.
- Export formats: Markdown exports cleanly into Notion and Obsidian; CSV works for spreadsheet-based review; JSON suits bulk transfers or developer workflows. If a tool only copies to clipboard, you’ll spend time reformatting.
- Search, tags, and per-video history: once you’ve built notes across 20 or 30 videos, search and tagging are what make them useful rather than buried.
- Local storage and privacy: some extensions store notes locally in the browser and require no account, which matters if you’re working with sensitive research. Others send transcripts to external servers. Check the extension’s privacy policy before installing.
The keyboard shortcut and local-storage conventions used by well-designed browser tools reflect a broader principle: low-latency capture keeps you in the flow of watching rather than fighting the interface.
How do you capture timestamped notes step by step?
Manual method
- Open the YouTube transcript pane (three-dot menu → “Open transcript”).
- Click any transcript line to jump the video to that moment.
- Copy the timestamp and line into your notes app. Format it as
[2:14] Key claim about Xfor readability. - For clickable links, use
https://youtu.be/VIDEO_ID?t=134(seconds, not MM:SS) in Markdown or HTML.
Extension method
- Install YouTube Timestamp Notes from the Chrome Web Store.
- Open any YouTube video. The notes panel appears on the right side of the player.
- Press Alt+N to add a note. The timestamp inserts automatically at the current playback position.
- Edit the note text, add a tag, and continue watching.
- If the shortcut doesn’t fire, check that the extension has permission to run on YouTube and that no other extension is using the same key combination.
Pro Tip: For long lectures, don’t just drop single timestamps. Mark the start and end of each topic as a range (e.g., [14:20–22:45] Regression analysis) so you can replay the whole segment during review without hunting for where it ends.
When you export to Markdown, timestamps become anchor links automatically if you use the ?t= URL pattern. That means your exported notes stay navigable even outside the browser.
How to organize and review your YouTube notes for study
Raw timestamps are only useful if you can find them later. A few habits keep your notes from becoming a pile.
- Tag by topic, not by video: tagging notes with subject labels (“statistics,” “case law,” “design patterns”) lets you pull all notes on a concept across multiple videos at once.
- Export format by destination: Markdown goes to Notion or Obsidian, CSV goes to a spreadsheet for sorting and filtering, and JSON handles bulk transfers if you’re building a personal knowledge base.
- Flashcard extraction: for each note, write one question the timestamp answers. That’s your flashcard. Tools like Scholarly can generate these automatically from the structured notes output.
- Review with timestamp jumps, not full replays: when a concept is unclear, jump to the exact timestamp rather than rewatching from the beginning. Save full replays for genuinely confusing segments.
| Study goal | Recommended export | Destination app |
|---|---|---|
| Active recall / flashcards | Structured notes with Q&A | Anki, Notion |
| Cross-video concept search | Markdown with tags | Obsidian, Notion |
| Spreadsheet-based review | CSV | Google Sheets, Excel |
| Bulk transfer or automation | JSON | Custom workflow |
Who benefits most from timestamped YouTube notes?
Students get the most direct payoff. Lecture capture with timestamps converts a 90-minute video into a reviewable outline in minutes. The recommended workflow: extension for live capture, Markdown export to Notion, flashcard extraction for spaced repetition.
Content creators use timestamped notes differently. They’re sourcing clips, building scripts, and tracking where a specific line or visual moment appears. A precise timestamp is the difference between finding a clip in 30 seconds and scrubbing through the whole video again.
Researchers and journalists need something closer to citation-quality notes: exact timestamps, verbatim quotes, and exportable references. Manual capture with the transcript pane gives the most accuracy here. JSON export works well when notes need to feed into a larger database or citation manager.
Casual learners are the core use case for AI summarizers. Paste the URL, get the key points, decide whether the full video is worth your time. Baitless is built exactly for this: a quick summary with highlighted moments so you know what to watch and what to skip before you commit 45 minutes to it.
Privacy and accuracy pitfalls to know before you rely on AI notes
Auto-generated captions are the foundation of almost every AI note tool, and they make mistakes. Technical terms, proper nouns, and accented speech are the most common failure points. A mis-transcribed name or number in a summary can look authoritative and still be wrong.
A few practical checks:
- Compare the AI summary’s key claims against the transcript text, not just your memory of the video.
- Flag any statistic or proper noun in the summary and verify it against the original source.
- For videos without auto-captions, manual timestamping is your only reliable option. Speech-to-text tools like Whisper can generate a transcript, but they carry the same accuracy caveats.
On privacy: extensions that store notes locally in the browser (YouTube Timestamp Notes explicitly does this) are safer for sensitive research than tools that send transcripts to external servers. The relationship between server-side AI processing and data exposure is worth understanding before you paste confidential material into any web-based summarizer.
How Baitless turns YouTube videos into ready-to-use summaries
Baitless is a Chrome extension that generates AI-powered summaries of YouTube videos, with timestamped key moments and a clear breakdown of what’s worth watching versus what you can skip.
- Instant summaries: paste or open a video and get a structured summary with highlighted moments, no manual transcript work required.
- Timestamped key moments: each summary point links back to the exact video position, so you can jump straight to the relevant clip.
- Free plan: 25 summary credits included, no subscription needed to start.
- Paid subscription: for students and researchers who summarize videos daily, a subscription unlocks higher credit volume.
- Who it’s for: students who need fast study notes, researchers previewing long interviews, and content consumers deciding whether a video is worth their full attention.
To get started, install the Baitless Chrome extension, open any YouTube video, and use one of your free credits to generate a summary. The interface shows what to focus on and what to skip, which is the fastest way to turn a 60-minute video into a 3-minute decision.
When manual notes still beat automation
Automation wins on speed. Manual wins on depth. The choice usually comes down to what you’re going to do with the notes afterward.
For content I need to understand precisely, manual capture is still my default. Technical explanations, legal arguments, and anything where the exact wording matters — these don’t compress well. An AI summary of a statistics lecture might get the concept right but lose the specific condition that makes the formula apply. That condition is often the thing that shows up on the exam.
For previewing, time-boxed study, or deciding whether a video is worth a full watch, automation is the right call. The decision framework I use:
- High exam stakes or technical precision needed? Manual timestamps with transcript verification.
- Previewing or deciding whether to watch? AI summarizer, then spot-check anything you plan to use.
- Long video, mixed content? Use AI for the high-level structure first, then drop back into manual capture for the sections that matter most.
The best workflow is usually a combination: let the AI give you the skeleton, then fill in the detail yourself at the timestamps that count.
Baitless is the fastest path from YouTube video to usable notes
Most note-taking workflows ask you to do the heavy lifting: install an extension, configure export settings, manually verify timestamps. Baitless flips that. You get a concise, timestamped summary the moment you open a video, with a clear breakdown of which moments are worth your time and which you can skip.
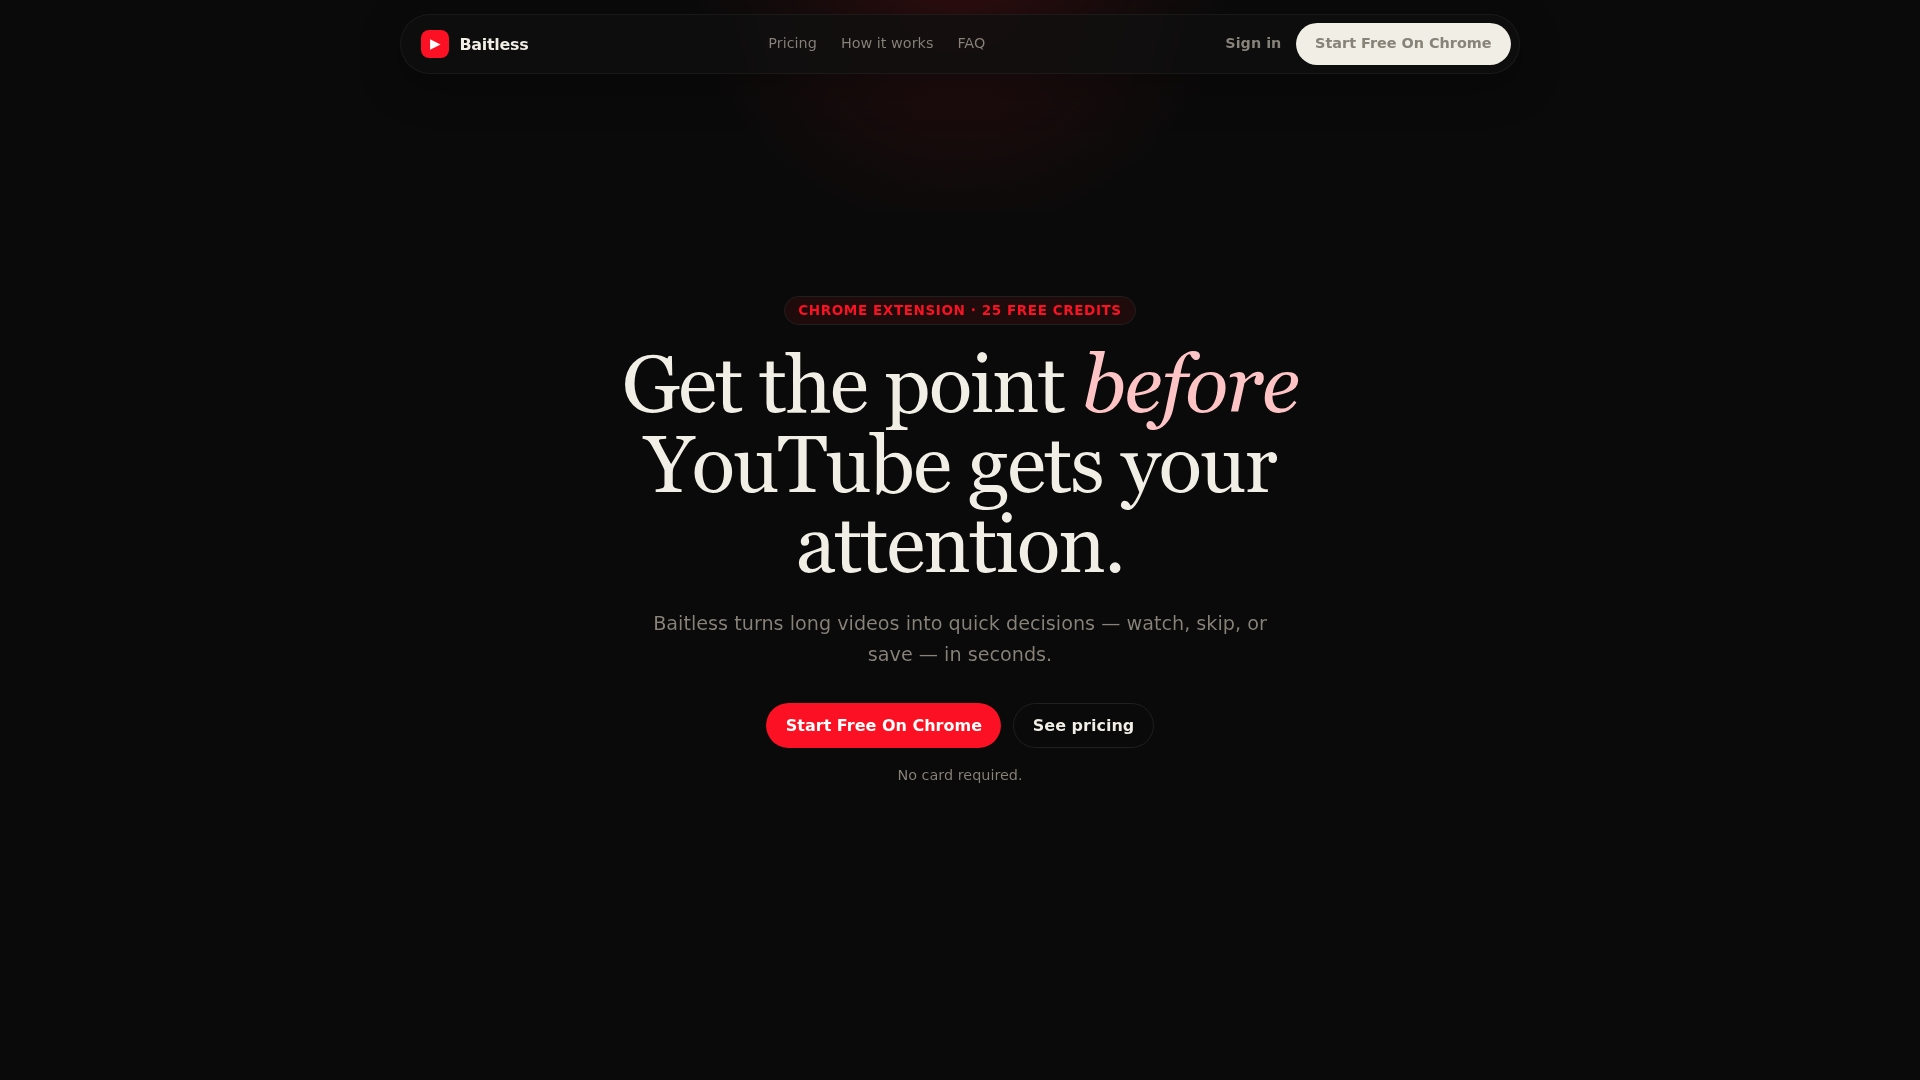
For students working through lecture playlists, researchers previewing long interviews, or anyone who’s tired of watching 40 minutes to extract 4 minutes of useful content, Baitless handles the first pass automatically. The free plan’s 25 summary credits are enough to test it across a full study session. For daily use, the paid subscription keeps the credits flowing without interruption.
Install Baitless from the Chrome Web Store and run your first summary on a video you’ve been putting off. The key moments are already there. Baitless just shows you where they are.
Sources
- YouTube to Notes | AI Note Generator from Videos | Scholarly
- YouTube Timestamp Notes - Chrome Web Store